
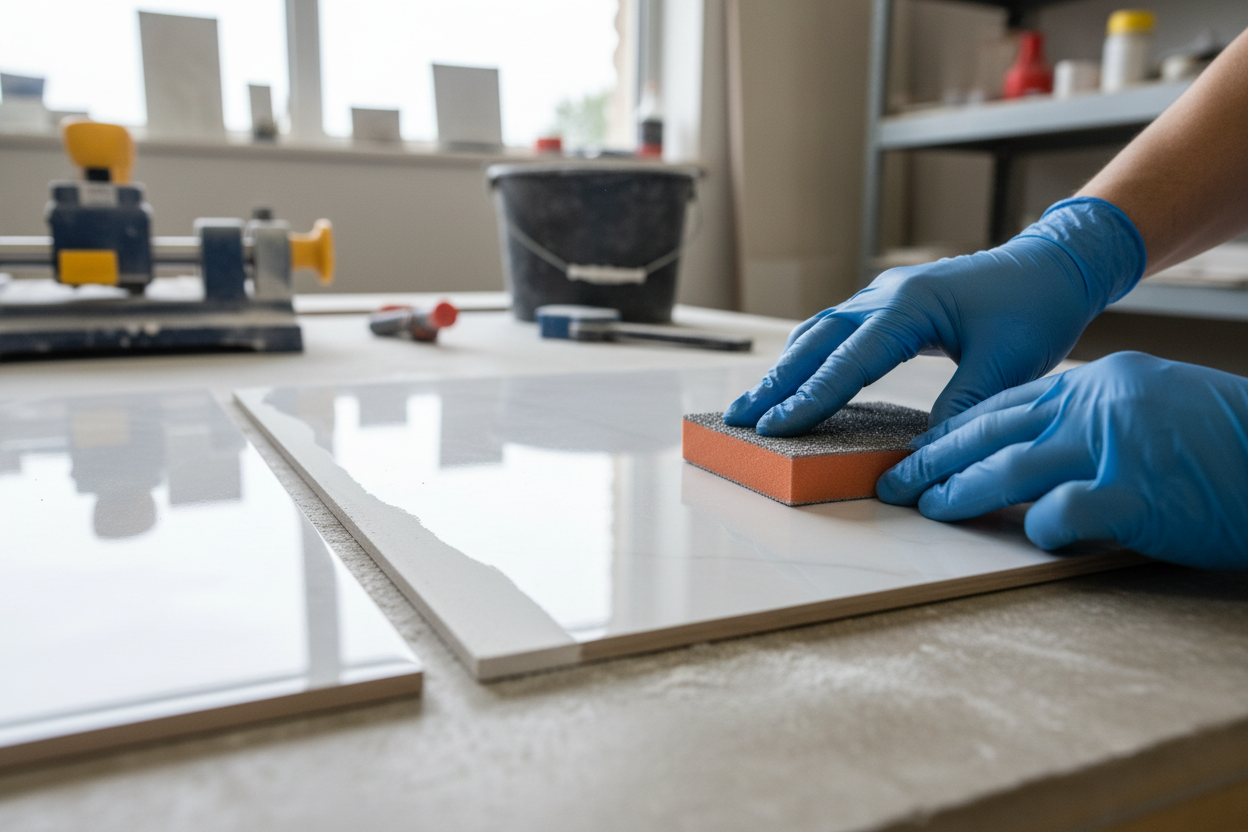
To polish a porcelain tile cut edge, grind the raw edge with a coarse diamond pad (50 to 100 grit) to remove chips and squareness, then work through medium pads (200 to 800 grit) and finish with a fine pad (1500 to 3000 grit) using a wet angle grinder or dedicated tile edge polisher until the edge is smooth and reflective. The full process, done correctly, takes 3 to 8 minutes per linear foot of edge.
If you have ever run your hand along a freshly cut porcelain tile, you know the problem this guide solves. The face of the tile is glass-smooth, but the cut edge feels like sandpaper. That contrast is not a flaw in the tile. It is simply what happens when you cut through a material as dense as porcelain: the factory glaze and finish exist only on the surface, and the cut exposes the raw, unglazed body beneath.
Polishing that edge is what turns a functional cut into one that looks intentional. It matters on a mitered corner where two tiles meet at 45 degrees, on a windowsill where the edge is exposed and touched daily, on a stair nose that takes foot traffic, and on any backsplash edge that is not covered by trim. Get it right, and nobody notices the edge was ever cut. Get it wrong, and it is the first thing a guest's eye catches.
This guide covers the full process end to end: why porcelain behaves differently from ceramic or natural stone when it is polished, the tools worth buying versus renting, a step-by-step method for both wet and dry polishing, how to handle different edge profiles, what professionals charge if you decide not to DIY, the mistakes that ruin an edge, and a full FAQ section built from the actual questions people search for.
What Causes Porcelain Tile Edges to Need Polishing
Porcelain is fired at a higher temperature and under greater pressure than standard ceramic tile, which gives it greater density, lower water absorption, and durability. It typically rates 7-8 on the Mohs hardness scale, close to quartz. That hardness is exactly why porcelain resists scratching and staining so well on the surface, and exactly why the cut edge is so much rougher and more time-consuming to finish than a ceramic tile edge would be.
Ceramic tile has a softer clay body under its glaze, so a cut ceramic edge can often be smoothed with basic sanding or a light pass of a grinder. Porcelain does not give up its roughness that easily. The body is essentially vitrified, meaning it has been fired until it is almost glass-like throughout. A cut edge on porcelain is closer in hardness to the tile face itself, which means you need diamond abrasives, not standard sandpaper, and you need a proper grit progression rather than a single pass.
Full-body porcelain has color and pattern running through the entire thickness of the tile, so a polished edge will closely match the tile's face color. Glazed porcelain has a printed or applied surface layer over a plain clay body, so a cut and polished edge on a glazed tile will usually reveal a different, often lighter or grayer color underneath the glaze line. If color matching at the edge matters for your project, full-body porcelain will give a more seamless-looking result. This is worth checking before you buy, not after you have already made the cut.
PRO TIP — CHECK YOUR TILE TYPE FIRST
Before you cut, check whether your porcelain is full-body or glazed. Look at a factory-cut edge or the box label. If the color runs all the way through, you're working with full-body porcelain, and your polished edge will closely match the face. This takes 30 seconds and saves you from an edge that looks mismatched after installation.
Understanding Edge Profiles
A polished cut edge is not a uniform finish. Depending on the installation, you are usually aiming for one of a few standard profiles.
A straight polished edge is the most common finish for a butt joint or an exposed straight edge. The edge is ground flat and flush, then polished to match the sheen of the tile face.
A beveled or chamfered edge has the sharp corner where the face meets the edge ground down at an angle, usually 45 degrees, before the edge itself is polished. This softens the visual line and reduces the risk of chipping along high-traffic edges, such as stair noses and countertop fronts.
Bullnose or rounded edge is ground into a full curve rather than a flat plane or a bevel. This is the most labor-intensive profile to create by hand and is usually done with a router-style bullnose bit or ordered pre-finished from the manufacturer for larger runs.
Mitered edge is used where two tiles meet at an outside corner, most often on a waterfall countertop edge or a wrapped windowsill. Both tiles are cut at 45 degrees, and the resulting seam is polished on both sides so the join reads as a continuous, unbroken corner.
Tools You Need to Polish Porcelain Tile Edges
You do not need a professional fabrication shop to get a clean result, but using the wrong tool for the material is the single biggest reason DIY edges look uneven. Here is what actually matters at each stage.
Wet saw with a porcelain-rated diamond blade. Start here because the quality of your initial cut determines how much grinding work lies ahead. A wet saw keeps the blade and tile cool, reducing the risk of micro-cracking along the cut line and significantly reducing dust compared to a dry cutter. Choose a continuous rim diamond blade specifically rated for porcelain.
Angle grinder or dedicated tile edge polisher. An angle grinder (4.5 inches is the standard size for tile work) fitted with a diamond polishing pad is the most versatile and affordable option. A dedicated tile edge polisher is a specialized tool designed for this task, typically offering steadier speed control and easier handling for beginners.
Diamond polishing pads. This is the step people skip, and it is the reason so many DIY edges come out cloudy or streaky instead of glossy. Diamond pads work by progressively removing the scratches left by the previous, coarser pad. A full set typically includes 50, 100, 200, 400, 800, 1500, and 3000 grit pads. For most home projects, you can get good results by skipping every other stage in the middle (50, 200, 800, 3000), as long as you spend enough time at each one.
Wet vs. dry pads. Wet pads are used with a water feed and produce a cleaner, more consistent finish while extending the life of the diamond pad. Dry pads are convenient for small touch-up jobs but wear faster and generate more airborne dust.
Cutting and grinding porcelain generate crystalline silica dust, a recognized respiratory hazard with prolonged exposure. Always wear a properly fitted N95 or higher-rated respirator, not a paper dust mask, and work in a ventilated area. Wet cutting significantly reduces airborne dust compared to dry cutting.
How to Polish a Porcelain Tile Cut Edge Step by Step
The following process works for most straight and beveled edges and can be adapted for mitered or bullnose profiles.
- Measure and mark accurately. Use a china marker or fine permanent marker rather than a pencil. A miscut on porcelain costs you a tile, not just time.
- Make the cut on the wet saw at a slow, steady pace. Let the blade do the work rather than pushing the tile through faster than the blade wants to cut.
- Rough grind the edge with your coarsest diamond pad (50 to 100 grit), holding the tool flat against the edge at a consistent angle. Keep the edge wet throughout.
- Work through the middle grits in sequence, checking the edge dry under bright light between stages to confirm the previous grit's scratches are fully removed before moving on.
- Final polish with your finest pad (1500 to 3000 grit) using light, even pressure and continuous movement to bring out a reflective shine.
- Clean the edge thoroughly, rinsing away all polishing residue and letting the tile dry completely before inspecting the result.
- Seal if needed. Porcelain rarely needs sealing, but a matte or textured edge in a consistently wet area can benefit from a porcelain-rated penetrating sealer.
- Install, keeping grout lines consistent and protecting the finished edges from scuffing during the rest of the job.
PRO TIP — CHECK YOUR WORK DRY
Wipe the edge dry and check it under a bright light or your phone's flashlight before switching grits. Water on the tile hides scratches that will be clear once the tile dries and is installed. This one habit prevents most cloudy-finish complaints.
Never let a spinning grinder pad sit still against porcelain, even for a second. Localized heat and friction can cause micro-fractures that may not be visible immediately but can lead to chipping or cracking later, especially in freeze-thaw climates or in heated flooring installations.
Choosing the Right Edge Profile for Your Room
Kitchen countertops and backsplashes: a mitered edge is the standard for a waterfall countertop where the tile wraps around a vertical surface, creating the illusion of a single solid slab. For a simple backsplash edge that ends against drywall or trim, a straight polished edge is usually sufficient.
Bathrooms and shower surrounds: exposed edges around a niche, curb, or open shower entry benefit from a light bevel or bullnose, since these are areas where hands and shoulders make regular contact.
Stairs and high-traffic flooring: stair nosing takes the most physical abuse of any tiled edge, so a beveled or rounded profile is strongly preferred over a sharp straight edge, both for chip resistance and injury reduction.
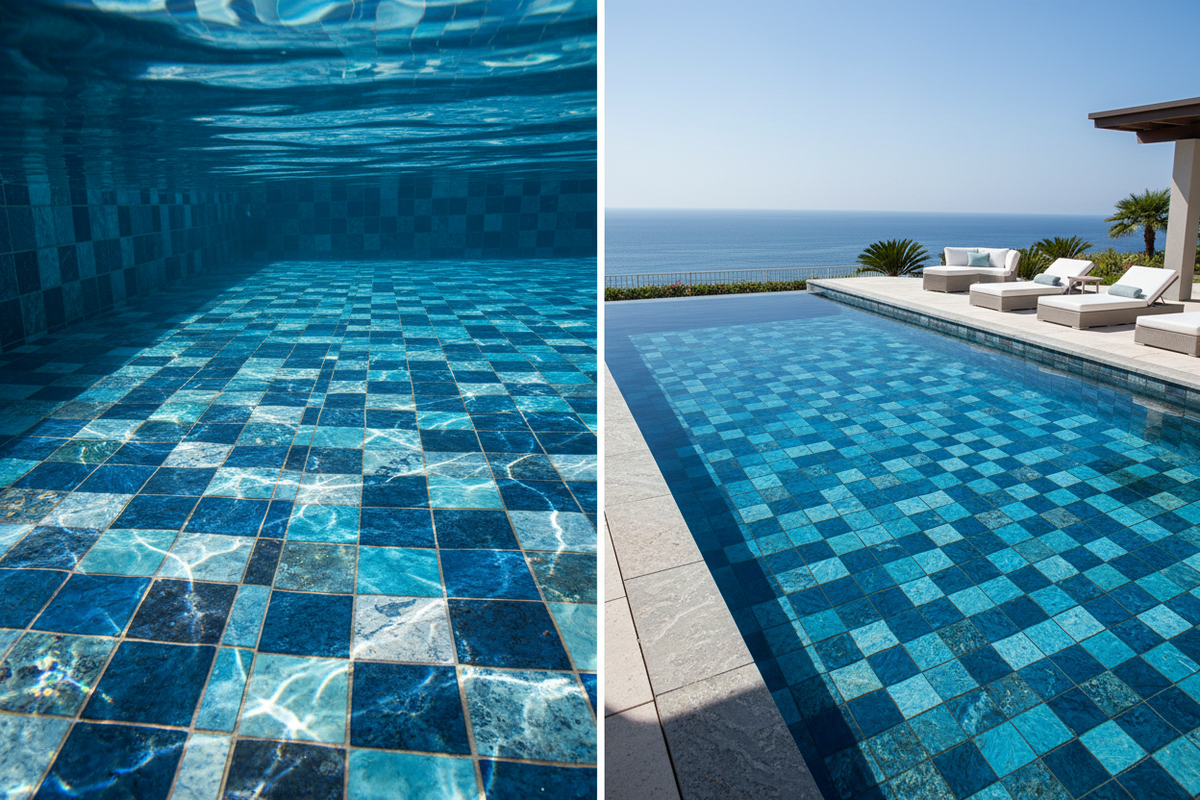
Outdoor and pool applications: a lightly textured or honed finish is sometimes preferred over a high-gloss polish, since a very smooth, reflective edge can become slippery when wet. If slip resistance is a priority, stop the grit progression at a medium stage (around 400-800 grit) and check your local building code for pool-surround requirements.
Porcelain Edges vs. Ceramic and Natural Stone Edges
Porcelain vs. ceramic: ceramic tile has a softer, more porous clay body beneath its glaze. A cut ceramic edge can often be cleaned up with a basic sanding sponge or a light single pass with a grinder, and rarely needs the full diamond grit progression that porcelain requires. The tradeoff is that ceramic edges are more prone to chipping over time in high-traffic locations.
Porcelain vs. natural stone: natural stone, including marble, travertine, and pebble and stone mosaic products, which many homeowners pair with porcelain field tile, generally polishes faster because the mineral structure is often softer, ranking 3 to 5 on the Mohs scale for marble and travertine. However, natural stone is porous and almost always requires sealing after polishing, both on the face and the cut edge, to prevent staining and moisture absorption. Porcelain's near-zero porosity means it skips that step in most cases.
If your installation mixes porcelain with natural stone accents or borders, don't use a stone-formulated sealer or acid-based cleaner on the porcelain edges, or a porcelain sealer on the stone. The two materials need different products, and using the wrong one wastes money at best and damages the surface at worst.
What Professional Fabricators Do Differently
Fabrication shops typically use a fixed-arm or CNC-guided polishing machine that maintains a perfectly consistent angle along the entire length of an edge, which is very difficult to replicate by hand over a long run. They also use continuous water-fed polishing heads rather than a spray bottle or manual wetting, which keeps the temperature and lubrication constant throughout the full pass. For complex profiles like waterfall edges or curved bullnoses, many shops template the exact shape first and cut to that template, minimizing the number of correction passes needed.
None of this means DIY results cannot be excellent. For large, highly visible runs, a professional shop's consistency advantage becomes more valuable as the length of the edge increases, since small variations in hand pressure or angle compound over distance.
DIY vs. Hiring a Professional
For a small project, a few cut edges on a backsplash or a windowsill, DIY polishing with a basic tool kit is very achievable, even for a first-time tiler, as long as you practice on scrap material first and follow the grit progression. For larger jobs, especially mitered waterfall countertop edges, full staircase runs, or any installation where a mismatched edge would be highly visible and costly to redo, hiring a professional fabricator is often the more practical choice.
Professional edge polishing is typically priced per linear foot and varies by edge profile, with straight polished edges priced lowest and mitered or bullnose edges priced highest due to the additional shaping and templating work. Ask whether a quote includes the initial cut or only the polishing of an edge you have already cut yourself, since pricing structures vary between shops.
Troubleshooting Common Problems
The edge has a wavy or inconsistent gloss. Your grinder or polisher angle likely shifted partway through the pass. Keep your wrist and forearm locked at a consistent angle, and consider a guide or jig for long, straight runs.
Small white or hazy spots remain after polishing. These are often leftover mineral deposits from hard water used during wet polishing, not actual scratches. Clean the dried edge with a mild acidic tile cleaner formulated for porcelain before assuming you need to re-grind.
The edge chipped after installation. A polished edge remains more vulnerable to impact than the factory face. Minor chips can usually be reground and repolished in place, though color matching on glazed porcelain can be tricky, since the chip may expose the lighter body beneath the glaze.
The diamond pads are wearing out too quickly. This is almost always a sign of dry polishing without adequate water, or of pressing too hard rather than letting the diamond abrasive do the work at a lighter touch.
A Practical Buying Checklist Before You Start
- Cutting: a wet saw with a continuous rim diamond blade rated specifically for porcelain, matched to your saw's blade diameter.
- Grinding and polishing: a 4.5-inch angle grinder or a dedicated tile edge polisher, with an arbor size matching your diamond pads.
- Diamond pads: a full graduated set from 50 grit through 3000 grit, wet-rated if you plan to work with water. Buy extras of your most-used grits.
- Safety: impact-rated safety glasses, an N95 or higher respirator, cut-resistant gloves, and a shop vacuum rated for fine dust if working indoors.
- Finishing: a soft cloth, pH-neutral tile cleaner, and a porcelain-rated penetrating sealer on hand in case your edge profile calls for one.
Budget more time than you think you need for a first attempt. A reasonable expectation for a small bathroom project is a half day, including setup, a practice run on scrap tile, the actual cutting and polishing, and cleanup. Where possible, don't schedule edge polishing on the same day as final installation, so you have a buffer to inspect the edges under different lighting and catch any spots that need another pass.
Frequently Asked Questions
Can you polish porcelain tile edges?
Yes. Porcelain edges can be ground and polished using diamond abrasive pads. It takes more passes than softer tile because porcelain is rated 7 to 8 on the Mohs hardness scale, but the result matches the factory sheen of the tile face when done through a full grit progression.
How do you smooth porcelain tile edges after cutting?
Start with a coarse diamond pad, around 50 to 100 grit, to remove chips and square the edge, then move through medium grits to erase the scratches left by the coarse pad, finishing with a fine grit pad for shine. Keep the edge wet throughout for the cleanest result.
What tool do you use to polish tile edges?
An angle grinder fitted with diamond polishing pads is the most common and affordable option. A dedicated tile edge polisher offers more control for beginners and larger jobs, but is a single-purpose tool.
Do polished porcelain edges need to be sealed?
Usually not. Porcelain has very low water absorption, generally under 0.5 percent, so sealing is optional. It can help with matte or textured edges in consistently wet areas like showers.
How long does it take to polish a porcelain tile edge?
A full grit progression on a straight edge typically takes 3 to 8 minutes per linear foot, depending on the starting quality of the cut and the finish you are aiming for. Mitered and bullnose edges take longer due to the extra shaping work.
Why does my polished porcelain edge look cloudy instead of glossy?
This almost always means a grit stage was skipped. Scratches from a coarser pad are still present beneath the surface, and no amount of time on the final fine pad will remove them. Go back a grit or two and work through the sequence properly.
Is it better to polish porcelain edges wet or dry?
Wet polishing is better for almost every project. It produces a more even finish, extends the life of your diamond pads, and significantly reduces the fine dust generated during grinding compared to dry polishing.
Can a chipped polished edge be fixed after installation?
Minor chips can often be re-ground and re-polished in place with a smaller diamond pad. Color matching can be difficult on glazed porcelain because a chip may expose a lighter body color beneath the surface glaze.
Should I hire a professional to polish porcelain edges or do it myself?
Small projects with a few straight edges are very achievable as a DIY job with practice. Long, highly visible runs, mitered waterfall countertops, or bullnose profiles are usually better left to a professional fabricator, since fixed equipment holds a more consistent angle over long distances than a handheld tool.
Conclusion
A polished porcelain tile cut edge is a small detail that carries a lot of visual weight. It is the difference between an installation that reads as professionally finished and one that shows its seams. The process rewards patience more than expensive equipment: a correct grit progression, consistent pressure, and a wet workflow will get most home tilers a genuinely glossy, chip-resistant edge on the first real attempt, especially after a practice run on scrap tile.
If you are planning a project and want porcelain, pebble, or mosaic tile that pairs well with polished edge work, or if you would rather start from a wide selection of natural stone and tile options before you get to the cutting stage, Pebble Tile Shop carries a full range of tile styles suited to bathrooms, kitchens, and outdoor spaces, with support available if you have questions before you buy.
Ready to start your tiling project? Browse our full collection of pebble, mosaic, and stone tile.
Shop Pebble Tiles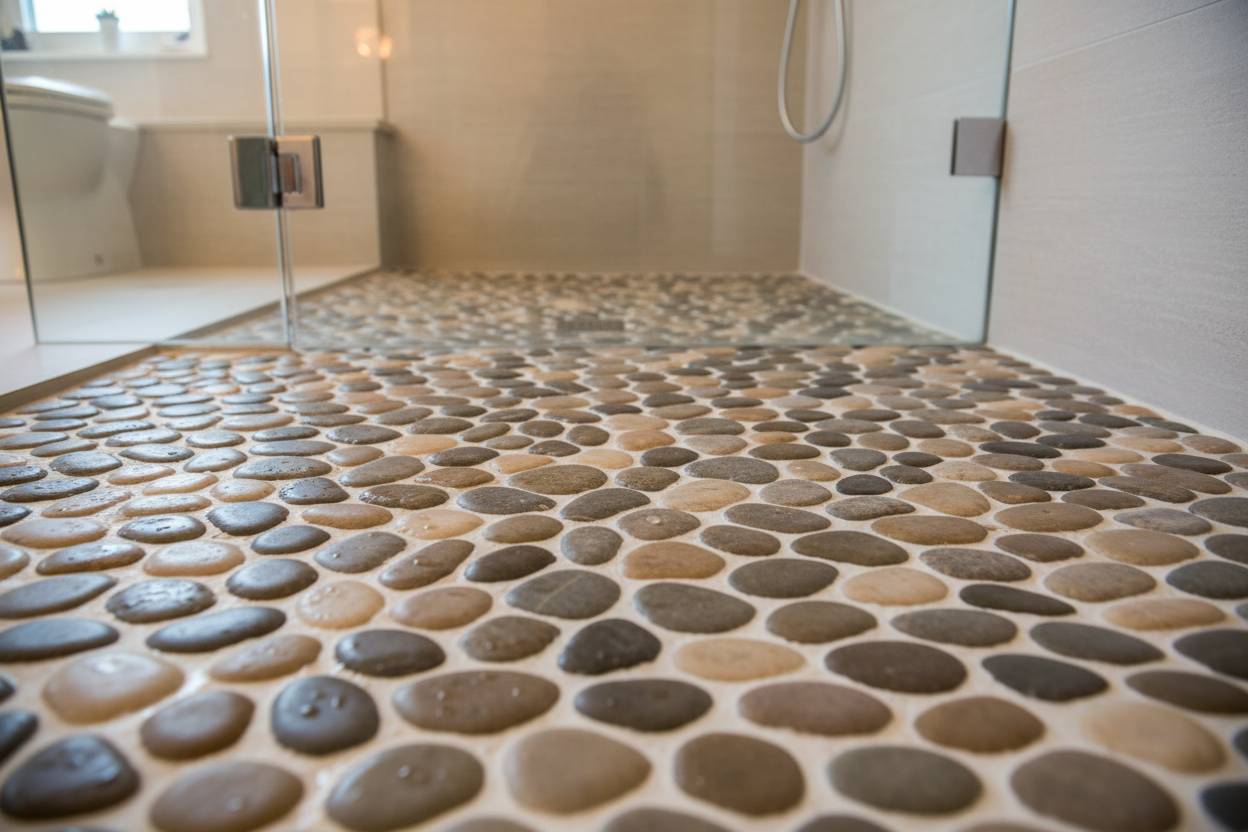

Leave a comment
This site is protected by hCaptcha and the hCaptcha Privacy Policy and Terms of Service apply.