
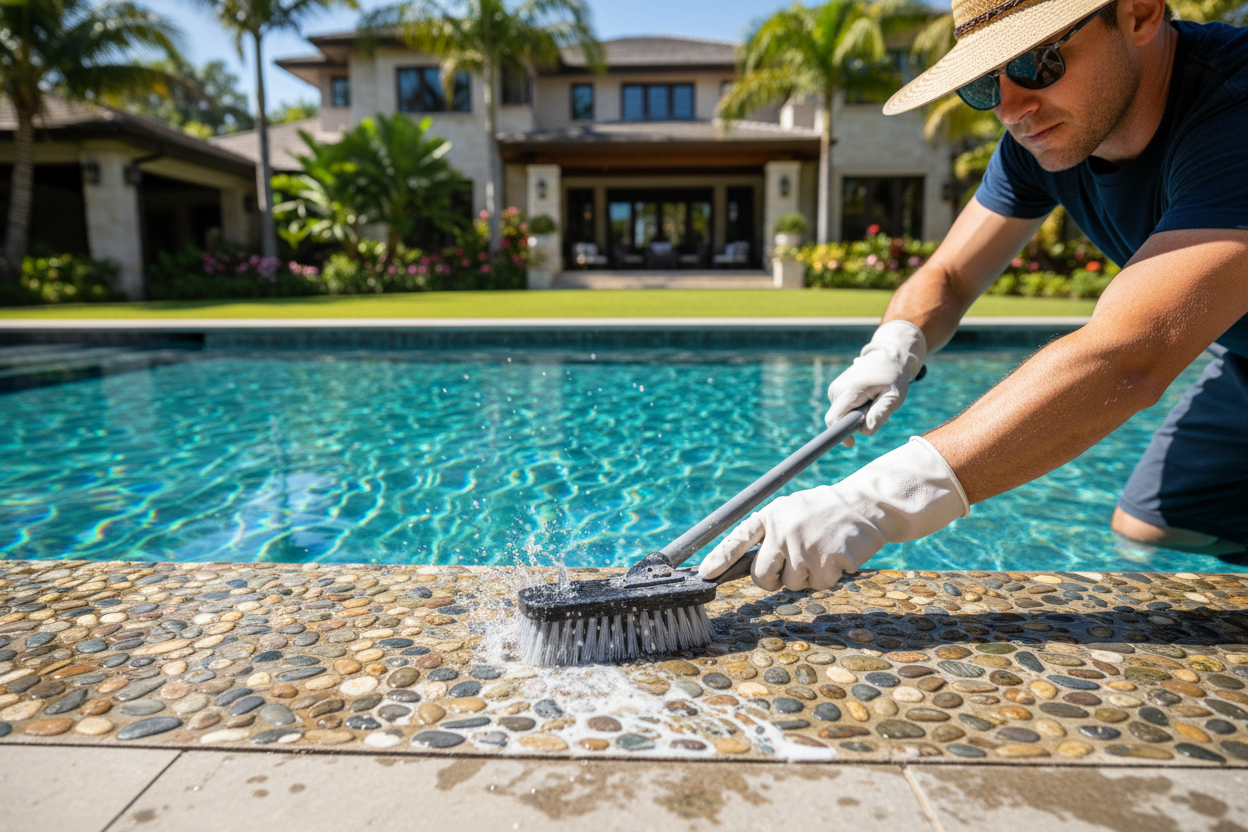
Swimming pool tile cleaning is one of the most common and most misunderstood maintenance tasks homeowners face. Use the wrong product on the wrong tile type, and you can permanently damage the surface. This guide covers every proven method for cleaning swimming pool tiles, removing calcium deposits, treating algae, and keeping tiles clean long term — based on tile type, deposit type, and whether your pool is full or empty.
What causes swimming pool tiles to get dirty
Pool tile buildup is not all the same. Understanding what type of buildup you are dealing with before reaching for a cleaning product is the single most important step in effective pool tile cleaning. Using the wrong method on the wrong deposit type wastes time, risks tile damage, and often makes the problem worse rather than better.
Calcium deposits and scaling at the waterline
Calcium scaling is the leading cause of dirty pool tiles across the United States, particularly in states with hard water, including California, Texas, Arizona, Nevada, and Florida. It appears as a white or gray chalky buildup at the waterline and forms when calcium in the pool water combines with carbonates and precipitates out of solution onto the tile surface as water evaporates.
The Pool and Hot Tub Alliance recommends maintaining calcium hardness between 200 and 400 parts per million in pool water. When levels exceed 400 ppm, scaling accelerates significantly, particularly during summer months when evaporation is highest.
Two types of calcium scaling behave very differently and require different cleaning approaches:
Calcium carbonate is the softer, white chalky type. It forms when the pool pH rises above 7.8 and is the more common and easier-to-remove of the two types. It responds well to mild acids, commercial calcium removers, and physical scrubbing.
Calcium silicate is the harder, gray-white type that forms over years when calcium bonds with silicates in the water. It is significantly more difficult to remove and often requires professional bead blasting rather than DIY cleaning methods.
PRO TIP — IDENTIFY YOUR DEPOSIT TYPE FIRST
Apply a small drop of white vinegar directly to the deposit. If it fizzes, you are dealing with calcium carbonate, which responds to DIY cleaning methods. No fizz means calcium silicate, which requires stronger treatment or professional help. This test takes 30 seconds and saves hours of wasted effort.
Algae on pool tiles
Algae is the second most common cause of dirty pool tiles and requires a completely different approach to calcium deposits. There are three main types:
Green algae form a slippery green-gray film on tile surfaces when chlorine levels drop below 1 ppm or pool circulation is poor. It is the easiest type to treat and typically clears up within 24 to 48 hours of a chlorine shock treatment.
Black algae appear as dark spots with defined edges and root-like structures that penetrate porous tile and grout. It is highly resistant to standard chlorine treatment and requires aggressive physical scrubbing combined with direct high-dose chlorine spot treatment.
Yellow or mustard algae clings to pool walls and tiles and is often mistaken for dirt or sand. It requires a specialized algaecide treatment rather than chlorine shock alone.
Never scrub algae from pool tiles before shocking the pool. Scrubbing live algae spreads spores across the entire pool and significantly worsens the problem. Always shock first, wait for the algae to die and turn gray, then scrub.
Hard water stains and mineral deposits
Iron, copper, and manganese dissolved in pool water can stain tiles in shades ranging from rust-brown to blue-green. According to the US Geological Survey, hard water affects approximately 85 percent of US households, making mineral staining one of the most widespread pool tile problems nationwide. These stains are often mistaken for algae but require a metal stain remover or ascorbic acid treatment rather than an algaecide or calcium remover.
Organic staining from body oils and sunscreen
Sunscreen, body oils, leaves, and other organic materials leave brownish or yellowish staining on pool tile and grout, particularly at the waterline. This type of staining responds well to enzyme-based pool tile cleaners and is typically the easiest category to remove.
How to clean swimming pool tiles step by step
The following process works for most residential swimming pool tile cleaning jobs and can be completed without draining the pool in the majority of cases.
- Lower the water level by 4 to 6 inches below the tile line to expose the full waterline tile strip and give yourself a dry surface to work on.
- Identify the deposit type using the vinegar fizz test before choosing any cleaning product.
- Choose the right cleaner for your deposit type and tile material — see the tile type guide below before applying anything.
- Apply cleaner to a small section of 2 to 3 feet and allow it to dwell for the time specified on the product label, typically 5 to 15 minutes.
- Scrub with a nylon brush in circular motions across the tile surface, then use a grout brush along all grout lines.
- Rinse thoroughly with clean water before the cleaner dries and before moving to the next section.
- Rebalance pool chemistry after completing the full tile cleaning, as cleaning products can temporarily affect pH and alkalinity.
PRO TIP
Clean pool tiles in the early morning or late afternoon when the tile surface is cooler. Cleaning products evaporate faster on hot tile in direct summer sun, significantly reducing their dwell time and effectiveness.
How to clean pool tiles without draining
Cleaning swimming pool tiles without draining is possible for the vast majority of waterline cleaning jobs. The key is lowering the water level enough to expose the tile strip and give yourself a dry working surface, without needing to empty the pool.
Lower the water level 4 to 6 inches using the pool pump's backwash function or a submersible pump. This exposes the full width of the waterline tile strip. Apply your chosen cleaner directly to the dry exposed tile surface, work in 2 to 3 foot sections, and rinse each section before moving to the next. Minimize the amount of cleaning product that drips directly into the pool water by working carefully and rinsing with a bucket or garden hose directed away from the pool edge.
After completing the cleaning, refill the pool to the correct level, then test and adjust the pool chemistry. Most pool tile cleaning jobs, including removing calcium deposits, treating algae, and addressing waterline staining, can be completed this way without draining.
Full pool draining is only necessary for resurfacing, replastering, or complete tile replacement. For routine pool tile cleaning, including heavy calcium silicate deposits, professional bead blasting can be performed with the pool full of water.
Will vinegar remove calcium from pool tiles?
Yes, white vinegar effectively removes calcium carbonate from pool tiles. White vinegar contains acetic acid, which dissolves the calcium carbonate mineral compound that makes up most soft, white waterline scaling on pool tile. It is safe for glazed ceramic and porcelain pool tile and is among the most accessible and affordable DIY pool tile cleaning methods.
To clean pool tiles with vinegar, spray undiluted white vinegar directly onto the dry tile surface, allow it to sit for 10 to 15 minutes, then scrub with a nylon brush and rinse thoroughly. For heavier buildup, apply a second coat after 5 minutes without rinsing the first.
White vinegar will not remove calcium silicate, the harder gray-white type of pool tile scaling. If vinegar makes no visible difference after a full dwell time and scrubbing, you are dealing with calcium silicate and need a stronger commercial acid-based calcium remover or professional bead blasting. Never use white vinegar on natural stone, travertine, marble, limestone, or pebble tile as the acid permanently etches these surfaces.
How to clean pool tile grout
Pool tile grout is often the dirtiest and most overlooked part of swimming pool tile cleaning. Grout is porous, which means it absorbs mineral deposits, provides a surface for algae to root into, and holds calcium within its texture even after the tile surface itself has been cleaned. Cleaning the tile without cleaning the grout leaves the job half-finished.
For regular pool tile grout cleaning
Use a dedicated stiff-bristled grout brush with a commercial pool tile cleaner or a baking soda paste. Scrub along the grout lines in firm back-and-forth strokes rather than circular motions to get into the texture of the grout. Rinse thoroughly and assess whether a second treatment is needed before the grout dries.
For stained or algae-affected pool grout
Mix oxygen bleach with warm water according to package directions and apply to grout lines with a grout brush. Allow to dwell for 15 to 20 minutes, then scrub and rinse thoroughly. Oxygen bleach is significantly safer for grout and surrounding tile than chlorine bleach and is more effective on organic staining embedded in porous grout.
Sealing pool tile grout after cleaning
After cleaning and allowing grout to dry fully, apply a penetrating grout sealer rated for wet and submerged conditions. Sealed grout resists staining, algae penetration, and calcium buildup significantly better than unsealed grout. Reseal pool tile grout every 12 to 18 months for best results.
PRO TIP
Sealing pool tile grout after every deep clean is the single most effective maintenance step you can take. Sealed grout is dramatically easier to clean at the next session and resists algae and calcium penetration far better than unsealed grout.
How to clean pool tiles with green water
Green pool water combined with algae-covered tiles requires addressing the water chemistry problem before attempting any tile cleaning. Cleaning tiles while the water is still green and actively producing algae is ineffective because algae will immediately recolonize cleaned surfaces.
The correct sequence for cleaning pool tiles with green water is as follows. First, shock the pool with a chlorine shock treatment at the correct dosage for your pool volume and the severity of the algae. Run the pool pump continuously for 24 to 48 hours to circulate the shocked water through the entire pool. Test pool chemistry and bring pH, alkalinity, and chlorine to the correct levels. Vacuum up dead algae from the pool floor and walls once they have turned gray or white. Then scrub the tile surfaces with a nylon-bristled brush and a chlorine-based pool tile cleaner to remove algae residue and staining.
Pool tile cleaning in green-water situations often involves multiple types of buildup simultaneously — algae on the tile surface, calcium deposits from elevated pH, and organic staining from prolonged poor water chemistry. Address each type separately using the appropriate cleaning method for each.
How to clean pool tile algae
Cleaning pool tile algae effectively requires killing the algae before scrubbing, then addressing any remaining staining with appropriate pool tile cleaning products.
Cleaning green algae from pool tiles
Green algae on pool tiles respond well to a combination of chlorine shock treatment and scrubbing. Shock the pool to kill the algae first. Once the algae has died and turned gray or white, scrub the tile surface with a nylon brush and a chlorine-based pool tile cleaner. Rinse and repeat if necessary. Green algae are the most straightforward type to treat and typically resolve within one to two cleaning sessions.
Cleaning black algae from pool tiles
Black algae on pool tiles is significantly harder to remove because its root-like structures penetrate porous tile and grout surfaces. Physical scrubbing combined with a direct high-dose chlorine spot treatment is the most effective DIY approach. Apply a concentrated chlorine product directly to each black algae spot, allow it to dwell for 5 minutes, then scrub vigorously with a stiff brush. Multiple treatment sessions over several days are typically needed for established black algae colonies. If black algae recurs, the roots may have penetrated the grout,, and professional treatment may be required.
Removing algae staining from pool tile after treatment
After killing and removing algae, discoloration and staining may remain on the tile surface even after thorough scrubbing. A commercial pool tile cleaner or an oxidizing cleaner applied to the stained areas and scrubbed with a nylon brush will address most post-algae staining. For persistent gray or black staining on grout lines, an oxygen bleach treatment applied directly to the grout and allowed to dwell for 20 to 30 minutes is typically the most effective approach.
Best pool tile cleaner for each situation
The best pool tile cleaner depends on the type of deposit or staining you are dealing with and the type of tile in your pool. There is no single universal pool tile-cleaning product that works in every situation.
| Situation | Best pool tile cleaner | Safe on natural stone | Difficulty level |
|---|---|---|---|
| Light calcium carbonate | White vinegar | No | Easy |
| Moderate calcium carbonate | Commercial calcium remover | Check label | Moderate |
| Calcium silicate deposits | Diluted muriatic acid or professional bead blasting | No | Advanced |
| Natural stone and pebble tile | pH-neutral stone cleaner | Yes | Easy |
| Green algae | Chlorine shock plus chlorine-based tile cleaner | Yes | Moderate |
| Black algae | High-dose chlorine spot treatment plus stiff scrubbing | Yes | Advanced |
| Organic staining and body oils | Enzyme-based pool tile cleaner | Yes | Easy |
| Metal staining from iron or copper | Ascorbic acid treatment or metal stain remover | Yes | Moderate |
Cleaning pool tiles by tile type
The type of tile in your pool determines which cleaning products and methods are safe to use. Using the wrong product on the wrong tile type can cause permanent scratching, etching, or discoloration that cannot be reversed.
Glazed ceramic and porcelain pool tile
Glazed ceramic and porcelain are the most common pool tile types in the US and the most forgiving in terms of compatibility with cleaning products. The non-porous glazed surface resists most cleaning products. Nylon brushes, commercial calcium removers, diluted muriatic acid, and vinegar are all safe for glazed ceramic and porcelain pool tile. Avoid steel wool and abrasive scrubbers, which can scratch the glaze over time.
Glass pool tile
Glass tile is non-porous and easy to clean, but scratches easily with abrasive tools. Use only nylon brushes and non-abrasive cleaning products on glass pool tile. Pumice stones and any abrasive scrubbers should never be used on glass tile. Commercial calcium removers specifically formulated for glass tile are available and work well for waterline calcium buildup on glass mosaic pool tile.
Natural stone pool tile, including pebble tile and travertine
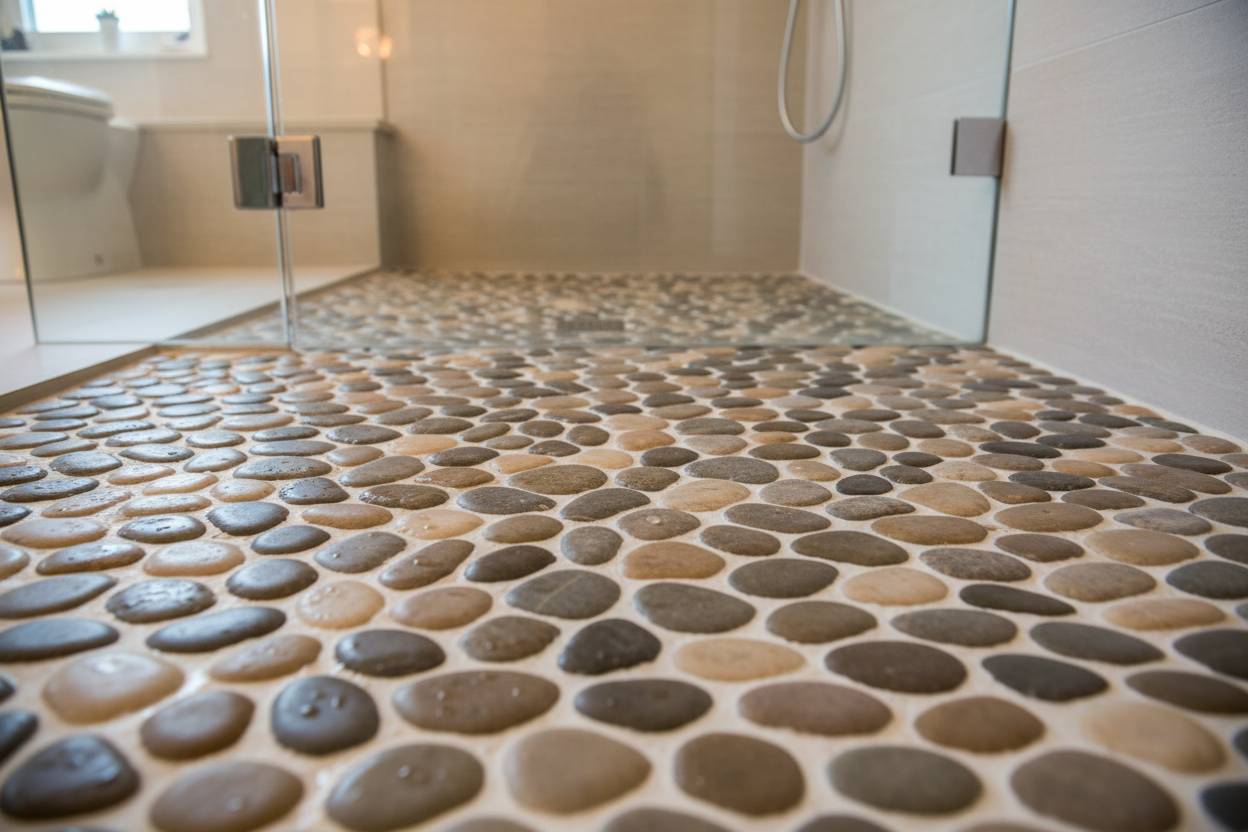
Natural stone pool tile, including pebble tile, travertine, slate, limestone, and marble, requires the most careful approach to cleaning. The porous surface of natural stone absorbs acids, so muriatic acid, white vinegar, and other acid-based cleaners can permanently etch, dull, and damage the stone surface. Use only pH-neutral cleaners specifically formulated for natural stone, combined with a nylon brush and gentle scrubbing. A penetrating impregnating sealer applied regularly is the most effective way to protect natural stone pool tile and keep it clean in the long term.
Never use muriatic acid, white vinegar, or any acid-based pool tile cleaner on natural stone tile, including pebble tile, travertine, marble, limestone, or slate. Acid permanently etches natural stone surfaces, and the damage cannot be repaired without professional resurfacing or tile replacement.
Professional pool tile cleaning methods
For calcium silicate deposits, severe staining, or pools where DIY methods have failed, professional pool tile cleaning services use equipment and techniques that deliver results impossible to achieve with household products.
Pressure washing pool tiles
Professional pressure washing uses high-pressure water jets to remove calcium deposits and surface staining from pool tiles. It is effective for moderate buildup of calcium carbonate on concrete and plaster pool surfaces. It is less effective on calcium silicate and is not recommended for delicate tile types, including glass tile and natural stone pebble tile.
Bead blasting pool tiles
Bead blasting is the most effective professional method for removing severe calcium silicate deposits from pool tiles. It uses a stream of small glass or sodium bicarbonate beads propelled at high pressure to abrade deposits from the tile surface without damaging the tile itself. Bead blasting can be performed with the pool full of water, making it the least disruptive professional cleaning option for most homeowners. It is the recommended approach for pools with calcium buildup that has not been addressed in several years.
Dry ice blasting pool tiles
Dry ice blasting uses pellets of frozen carbon dioxide to remove deposits and leaves no residue. It is safe for delicate tile surfaces, including natural stone and glass tile, and is the most thorough cleaning method available. It is also the most expensive option and is not yet widely available across all US markets. Expect to pay a premium over standard bead blasting for dry ice blasting services.
How to prevent pool tiles from getting dirty
Prevention is significantly more effective and less expensive than cleaning. Most swimming pool tile buildup is preventable with consistent water chemistry management and a simple regular maintenance routine.
Maintain correct pool water chemistry.
Calcium scaling is almost entirely preventable by keeping pool water chemistry within the correct ranges. Test pool water at least twice per week during swimming season. Keep pH between 7.4 and 7.6. Keep total alkalinity between 80 and 120 ppm. Keep calcium hardness between 200 and 400 ppm. Keep free chlorine between 1 and 3 ppm. When calcium hardness rises above 400 ppm, partially drain and refill the pool with lower-hardness water to bring levels back into range.
Brush pool tiles weekly.
A 5-minute weekly scrub along the waterline with a nylon pool brush, even without any cleaning product, removes early-stage mineral deposits and algae before they bond firmly to the tile surface. This simple habit reduces both the frequency and the difficulty of deep cleaning sessions throughout the season.
Use enzyme pool treatments regularly.
Enzyme-based pool treatments break down organic oils, sunscreen residue, and other organic material before they accumulate on tile and grout surfaces. Adding an enzyme product to your pool maintenance routine on a weekly or biweekly basis prevents the organic staining and waterline scum that is common in heavily used pools.
Seal natural stone and pebble tile annually.
Natural stone and pebble tile around pools and at waterline features should be sealed at least once per year with a penetrating impregnating sealer rated for wet and outdoor conditions. Sealing fills the pores of the stone, dramatically reducing the rate at which calcium deposits and staining penetrate the surface. Properly sealed natural stone pool tile is significantly easier to clean in subsequent cleaning sessions.
THE MOST EFFECTIVE PREVENTION STRATEGY
The single most effective thing you can do to prevent swimming pool tile scaling is to keep calcium hardness below 400 ppm and pH below 7.6. Most pool tile scaling problems are fundamentally water chemistry problems, not cleaning problems. Fix the chemistry, and the tile stays cleaner with far less effort.
Swimming pool tile cleaning checklist
COMPLETE POOL TILE CLEANING CHECKLIST
- Identify the deposit type using the vinegar fizz test before choosing any cleaning product.
- Lower the water level by 4 to 6 inches to expose the full waterline tile strip
- Choose the correct cleaner for your tile type — never use acid on natural stone
- Shock the pool before scrubbing if algae is present
- Work in 2- to 3-foot sections, applying cleaner, dwelling, scrubbing, then rinsing before moving on.
- Use a dedicated grout brush on all grout lines — do not skip grout
- Rinse each section before the cleaner dries and before it drips into the pool
- Rebalance pool chemistry after completing the full tile cleaning
- Seal grout and natural stone after every deep clean
- Test calcium hardness and correct if above 400 ppm to prevent rapid rescaling
Frequently asked questions about cleaning swimming pool tiles
How do I clean swimming pool tiles without draining the pool?
Lower the water level 4 to 6 inches to expose the waterline tile strip, apply your chosen cleaner to dry tile, allow it to dwell, scrub with a nylon brush, and rinse before moving to the next section. The vast majority of pool tile cleaning jobs, including calcium removal and algae treatment, can be completed without draining the pool.
Will vinegar remove calcium from pool tiles?
Yes, white vinegar removes calcium carbonate deposits from glazed ceramic and porcelain pool tiles. It will not remove calcium silicate, the harder gray-white type of scaling. Never use vinegar on natural stone, travertine, marble, or pebble tile, as it permanently etches the stone surface.
What is the best way to clean pool tiles?
The best way to clean pool tiles depends on the type of deposit and the tile material, for calcium carbonate on glazed tile, white vinegar or a commercial calcium remover works well. For algae, shock the pool first, then scrub with a chlorine-based tile cleaner. For natural stone and pebble tile, use only a pH-neutral stone cleaner. For severe calcium silicate deposits, professional bead blasting is the most effective solution.
How do I clean pool tile grout?
Use a stiff-bristled grout brush with a commercial pool tile cleaner or baking soda paste. Scrub along grout lines in back-and-forth strokes rather than circular motions. For organic staining, oxygen bleach applied directly to grout lines and allowed to dwell for 15 to 20 minutes is highly effective. Seal grout after every deep clean to prevent future penetration.
How do I clean pool tiles with green water?
Shock the pool first with a chlorine shock treatment at the correct dosage for your pool size and the severity of the algae. Run the pump continuously for 24 to 48 hours. Once the algae are dead, vacuum the dead algae from the pool, then scrub tile surfaces with a chlorine-based pool tile cleaner. Never scrub live algae before shocking, as it spreads spores and worsens the problem.
How do I clean pool tile algae, including black algae?
Green algae respond to chlorine shock treatment followed by scrubbing with a chlorine-based tile cleaner. Black algae require aggressive physical scrubbing of each spot individually, combined with a direct high-dose chlorine spot treatment. Multiple treatment sessions over several days are typically needed for established black algae, and professional treatment may be required if roots have penetrated deeply into grout.
What is the best pool tile cleaner for natural stone?
A pH-neutral cleaner specifically formulated for natural stone is the only safe option for cleaning natural stone pool tile, including pebble tile, travertine, slate, limestone, and marble. Acid-based cleaners, including white vinegar and muriatic acid, permanently etch natural stone and must never be used on these tile types.
How often should swimming pool tiles be cleaned?
A light weekly brush along the waterline prevents early-stage buildup from bonding firmly to the tile surface. A deeper cleaning with a calcium remover or tile cleaner every 3 to 4 months is recommended for most residential pools during swimming season, with more frequent deep cleaning in high-use pools or areas with particularly hard water above 400 ppm calcium hardness.
Conclusion
Keeping swimming pool tiles clean comes down to three things: identifying what type of buildup you are dealing with before choosing a cleaning product, using the right method for your specific tile type, and maintaining correct pool water chemistry to prevent rapid rescaling between cleaning sessions.
For most homeowners, a combination of weekly light brushing, quarterly deep cleaning with the right product for their tile and deposit type, and consistent water chemistry management keeps pool tiles looking clean year-round without the need for professional cleaning. For severe calcium silicate deposits or pools that have not been addressed in several years, professional bead blasting delivers results that DIY methods cannot match.
If you are planning a pool renovation, adding a pool surround, or looking for natural pebble tile, stone mosaic tile, or glass tile for a waterline feature or outdoor space, choosing the right tile and sealing it properly from day one will make every future cleaning session significantly easier.
Browse our full collection of natural pebble, stone mosaic, and glass tiles at Pebble Tile Shop. Trusted by homeowners across the US for bathrooms, kitchens, pool surrounds, and outdoor spaces—free shipping on most orders.
Shop Pebble Tiles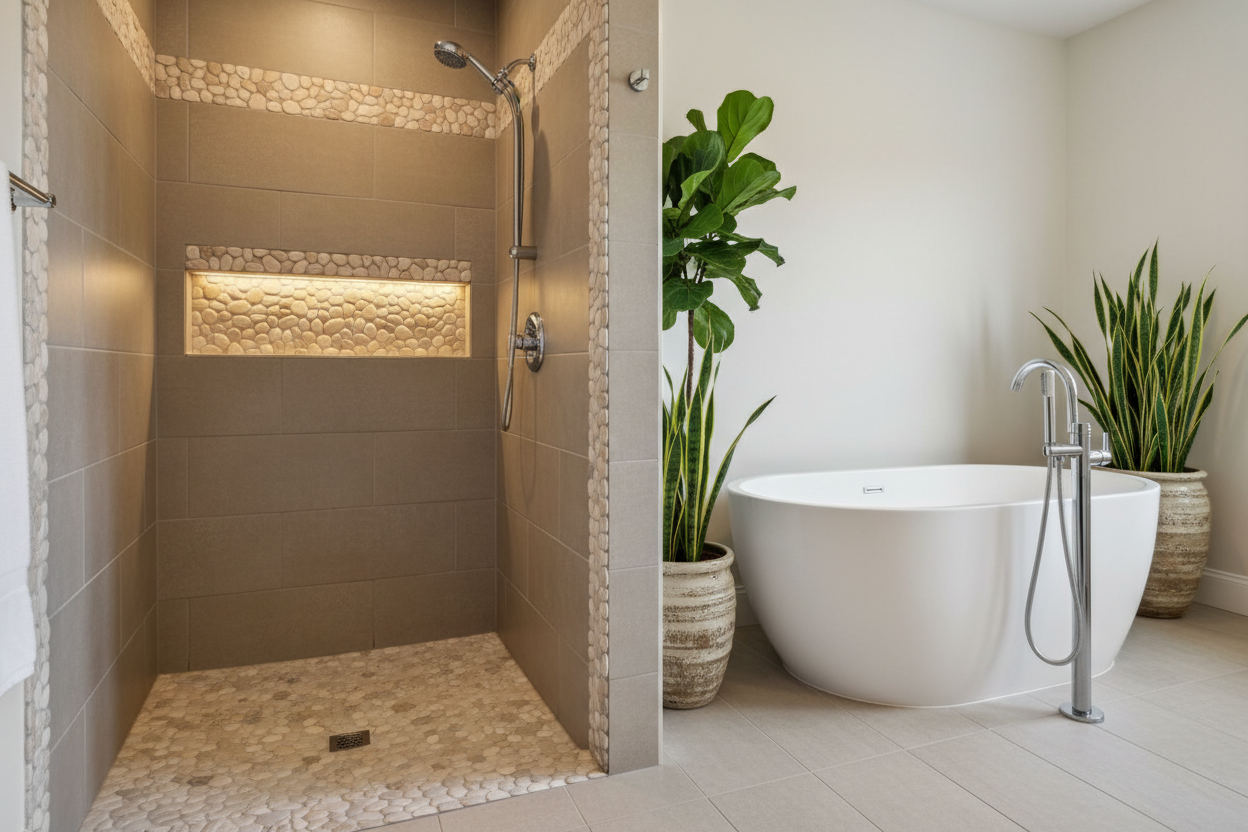

Leave a comment
This site is protected by hCaptcha and the hCaptcha Privacy Policy and Terms of Service apply.