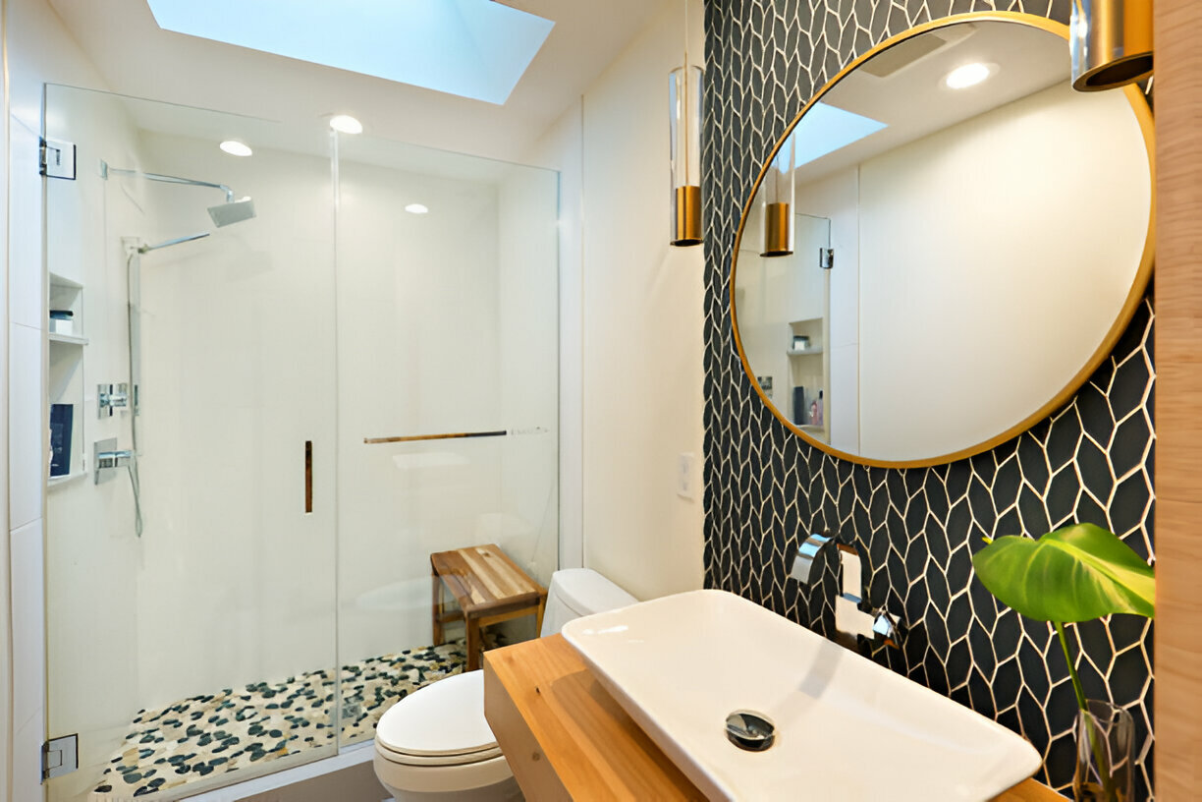
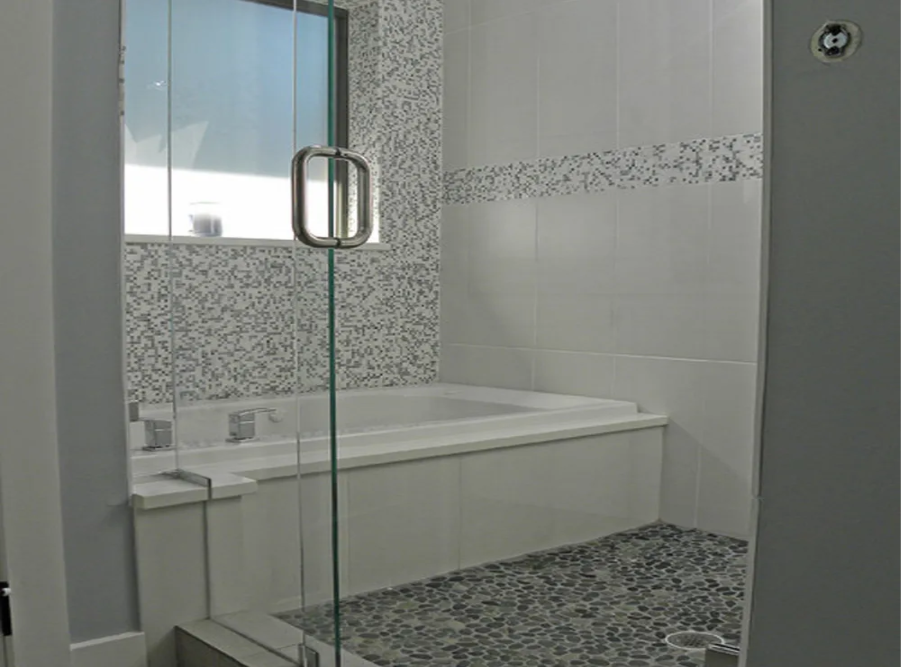
How to Install a Pebble Tile Shower Floor
Pebble tiles create a stunning natural look in your shower, offering both beauty and slip resistance. Installing them may seem challenging, but with the right steps, tools, and patience, you can transform your shower floor into a spa-like retreat.
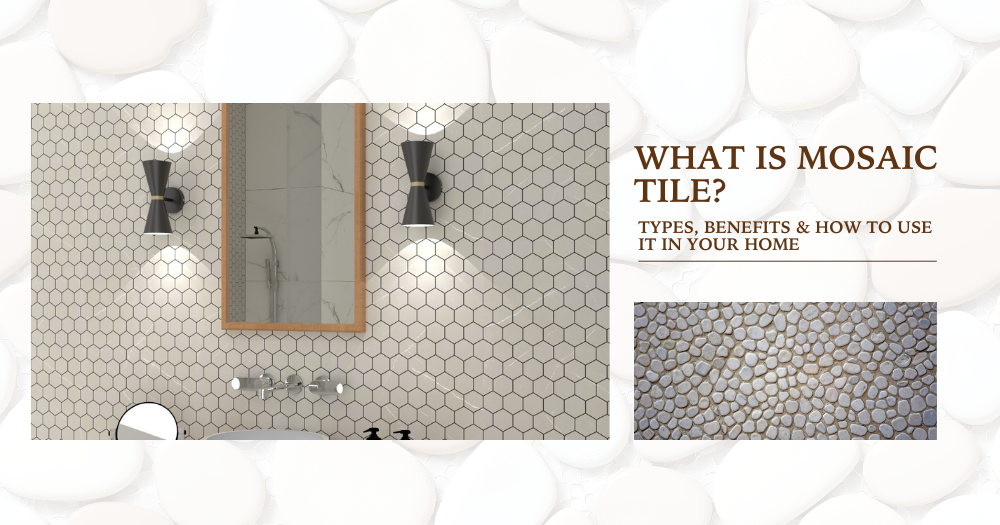
Understanding Pebble Tile Installation
Before starting, it’s important to understand that pebble tiles differ from traditional tiles. Their irregular shapes and textures require a specific installation process that focuses on proper subfloor prep, mortar application, and sealing for longevity.
- Pebble tiles come in mesh-backed sheets for easier installation.
- Proper waterproofing and sealing are critical to avoid Mold and damage.
- The natural variation in stones adds unique charm but requires careful fitting.
For a wide selection of quality pebble tiles, explore the Natural Pebble Tiles collection.
Tools & Materials You’ll Need
Having all necessary tools and materials ready before you start can make the installation smoother and more efficient. Here's what you'll need:
Essential Tools & Materials List
Pebble tile sheets: Available in polished or natural finishes, choose your style from the Pebble Tile collection.
- Thinset mortar: A high-quality, polymer-modified thinnest is ideal for adhering pebble tiles.
- Notched trowel: Typically, 1/2" x 1/2" square notch for mortar application.
- Rubber grout float: For spreading grout evenly. Sanded Grout is recommended for pebble tiles
- Tile cutter or wet saw: For custom fitting.
- Utility knife: To trim mesh backing if needed.
- Level: To ensure an even surface.
- Sponge and bucket: For cleaning grout haze.
- Sealer: A penetrating sealer designed for stone and grout. Need to be sealed once before grouting and once after grouting.
- Protective gear: Gloves, safety goggles, and kneepads.
Check out the Pebble Tile Borders to add decorative accents to your project.
Preparing the Subfloor
A well-prepared subfloor is crucial for a durable pebble tile installation. The subfloor must be clean, level, and waterproof.
Step 1: Remove Old Flooring and Clean
- Strip the shower floor down to the base.
- Remove debris, dirt, and any adhesive residues.
- Check for damage or unevenness.
Step 2: Repair and Level the Surface
- Patch any cracks or holes with appropriate fillers.
- Use a levelling compound if the surface isn’t flat.
Step 3: Waterproofing
- Apply a waterproof membrane or liquid waterproofing product specifically designed for shower floors.
- This prevents water from seeping under tiles and causing damage.
Laying Out the Pebble Sheets
Planning your tile layout helps ensure an even and attractive finish.
Step 1: Dry Fit Pebble Tiles
- Lay pebble sheets loosely on the shower floor to visualize placement.
- Arrange sheets so that the color and size variations appear balanced. Order extra sheets so individual pebbles can be arranged to remove grout lines.
Step 2: Adjust for Cuts and Corners
- Identify where sheets will need trimming.
- Mark areas requiring cuts to fit around drains or edges.
Step 3: Create a Reference Line
- Use a chalk line or pencil to mark a straight starting line.
- This keeps tiles aligned and prevents crooked installation.
Explore the Natural Pebble Tiles to find the perfect style to match your bathroom decor.
Applying Thinset Mortar
Applying thinset mortar correctly is key to securely adhering pebble tiles.
Step 1: Mix the Mortar
- Follow manufacturer instructions to mix thinset to a creamy, peanut butter-like consistency.
- Avoid lumps to ensure smooth application.
Step 2: Apply Mortar to Subfloor
- Using the notched trowel, spread a thin layer over a small area.
- Hold trowel at a 45-degree angle for even coverage.
Step 3: Embed Pebble Sheets
- Press pebble sheets firmly into the mortar.
- Wiggle slightly to ensure good contact.
- Use spacers if necessary to maintain grout joint width.
Step 4: Check Level and Adjust
- Use a level to ensure tiles are flat and even.
- Adjust immediately before mortar sets.
Cutting & Custom Fitting Tiles
Pebble tiles often require cutting to fit edges and corners perfectly.
Step 1: Measure Areas to Cut
- Measure distances around shower edges, corners, and drain areas.
- Transfer measurements to pebble sheets.
Step 2: Trim Mesh Backing
- Use a utility knife to cut the mesh backing neatly.
- This allows easier shaping of individual pebbles.
Step 3: Cut Pebbles as Needed
- Use tile nippers or a wet saw to carefully trim pebbles.
- Smooth edges to avoid sharp points.
Step 4: Dry Fit Cut Pieces
- Place cut sections in position before applying mortar.
- Adjust cuts as necessary for a perfect fit.
If you need advice or assistance, contact the experts via the Contact Us page.
Grouting Pebble Tiles Correctly
Proper grouting fills gaps and strengthens the installation while enhancing the appearance.
Step 1: Select the Right Grout
- Use a grout suitable for natural stone, preferably unsanded or with fine sand.
- Choose a color that complements your pebble tiles.
Step 2: Apply Grout
- Spread grout over tiles using a rubber float.
- Press grout into gaps fully.
Step 3: Remove Excess Grout
- Hold the float at a 90-degree angle and scrape off excess grout.
- Let grout set for 10-15 minutes.
Step 4: Clean Tile Surface
- Wipe tiles gently with a damp sponge to remove haze.
- Rinse sponge frequently.
- Allow grout to cure as per instructions.
For detailed grouting techniques, check out Wikipedia’s page on tile grout.
Sealing for Water Resistance
Sealing protects the stone and grout from water damage and staining.
Step 1: Choose a Quality Sealer
- Pick a penetrating sealer designed for natural stone and grout.
- Avoid surface sealers that can peel over time.
Step 2: Apply Sealer Evenly
- Use a clean brush or applicator.
- Coat the entire tile and grout area thoroughly.
Step 3: Allow Proper Drying Time
- Follow product instructions, usually 24-48 hours.
- Apply multiple coats if recommended.
Step 4: Test Water Repellency
- Sprinkle water droplets to check if they bead on the surface.
- Reapply sealer if water absorbs quickly.
Post-Install Care & Cleaning
Maintaining your pebble tile floor extends its beauty and durability.
Routine Cleaning Tips
- Use mild, pH-neutral cleaners specifically made for natural stone.
- Avoid harsh chemicals that can degrade sealer.
Preventing Mold & Mildew
- Keep the shower well-ventilated.
- Wipe down tiles after each use to reduce moisture buildup.
Periodic Resealing
- Reapply sealer every 1-2 years, depending on usage.
- Regular sealing protects against stains and water damage.
Mistakes to Avoid
Avoid common pitfalls to ensure your pebble tile shower floor lasts and looks great.
Common Errors and How to Prevent Them
- Skipping waterproofing: Always waterproof subfloor to prevent mold.
- Using the wrong mortar: Choose polymer-modified thinset for strong adhesion.
- Uneven subfloor: Always level and repair before tiling.
- Poor grout application: Fill joints completely to avoid water seepage.
- Neglecting sealing: Always seal stone and grout to protect from moisture.
Conclusion
Transforming your shower floor with pebble tiles is more than a design upgrade—it's an investment in comfort, safety, and natural elegance. With the right preparation, tools, and attention to detail, even a DIY enthusiast can achieve stunning, professional-looking results. From choosing high-quality materials like those found at Pebble Tile Shop to applying proper sealing techniques, every step plays a vital role in the durability and beauty of your new shower floor.
Whether you prefer the smooth texture of polished pebble tiles or the rustic charm of natural pebble tiles, a well-installed pebble floor creates a spa-like atmosphere right in your own home.
Frequently Asked Questions
1. Are pebble shower floors slippery when wet?
Pebble tiles are naturally textured, which provides excellent slip resistance when installed correctly. Choosing the right grout and sealer enhances traction, making them a safe option for wet environments like showers.
2. How do I clean and maintain a pebble tile shower floor?
Use a pH-neutral cleaner specifically designed for natural stone. Avoid acidic or harsh chemicals, and wipe down the surface regularly to prevent soap scum and mildew buildup. Resealing every 12–24 months helps protect the stone and grout.
3. Can I install pebble tiles over an existing shower floor?
It’s not recommended. For best results, remove the old flooring and prepare a clean, level, and waterproof subfloor. This ensures strong adhesion and prevents long-term damage.
4. What type of grout is best for pebble tile floors?
A sanded grout is typically used to fill the larger gaps between pebbles. Choose a grout colour that complements the stone and ensure it's suitable for wet areas to resist mold and staining.
5. How much does it cost to install a pebble tile shower floor?
Costs vary based on materials and whether you’re doing a DIY install or hiring a professional. On average, expect to spend $10–$25 per square foot on tile, plus additional costs for mortar, grout, sealer, and tools.
6. Do pebble tiles need to be sealed?
Yes. Sealing pebble tiles and grout protects against water, stains, and discoloration. Use a high-quality penetrating sealer designed for natural stone and reapply it regularly based on the product guidelines.
Leave a comment
This site is protected by hCaptcha and the hCaptcha Privacy Policy and Terms of Service apply.